Welcome back! Let’s now discover into world of Audio Compression Controls. We’ve already discussed the reasons and timing for using an audio compressor and its various controls. Now, depending on the type of compressor, you may encounter a variety of controls.
Let’s check them out.
Understanding Audio Compression
Audio compression is a fundamental process in music production, mixing, and mastering. It reduces the dynamic range of an audio signal, making it more balanced and controlled. By evening out the loud and quiet parts of a sound, compression brings up the quieter parts and brings down the louder parts. This results in a more polished and professional-sounding mix. Whether you’re working on a vocal track, a drum kit, or a full mix, understanding how to use audio compression effectively can make a significant difference in the final output.
Working with Dynamic Range
Dynamic range is the difference between the loudest and quietest parts of an audio signal. It’s an essential aspect of audio compression, as it determines how much gain reduction is applied to the signal. A compressor reduces the dynamic range by attenuating the louder signals and boosting the quieter signals. This process helps to maintain a consistent level and adds color to the sound. By controlling the dynamic range, you can ensure that all elements of your mix are heard clearly, without any parts being too overpowering or too faint.
Input Gain
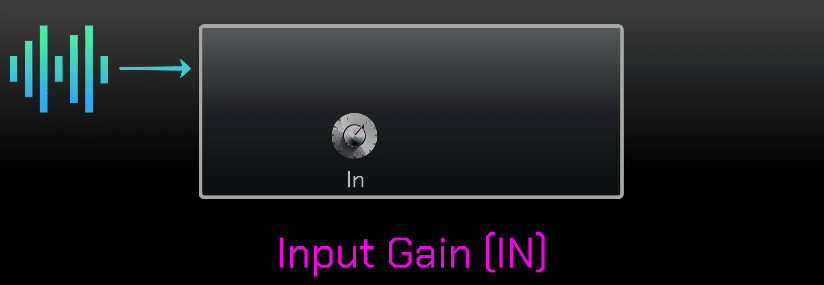
Let’s start with the input gain.
This control sets the operating input level of the compressor.
Many plugins emulate the original hardware and they work better with a maximum input level of zero dB VU. So, always remember to check how hard you can hit a compressor before any processing. Or maybe you want to intentionally hit it hard to use it as a Tone Box. Many plugins emulate the original hardware compressors, which often have different input characteristics.
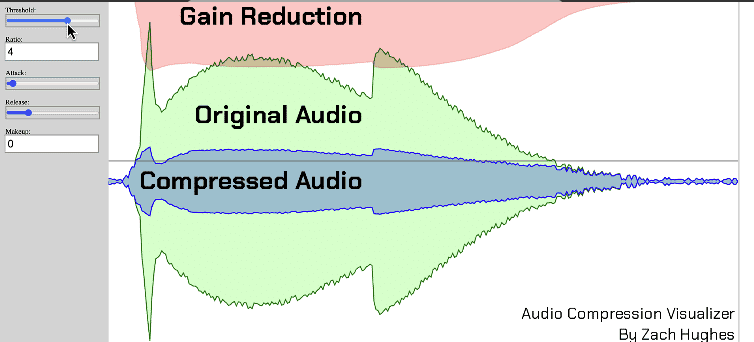
Gain Reduction

Sometimes simply referred as GR, it indicates the amount of compression we apply to the audio.
While mixing, typical gain reduction values are around 2 to 4 dB or even more.
Instead, while mastering, you should never exceed 2 dB of gain reduction.
Usually, the gain reduction is shown on a meter or via some LEDs. Gain reduction is a crucial part of dynamic range compression, which helps balance the loud and quiet parts of an audio signal.
Threshold
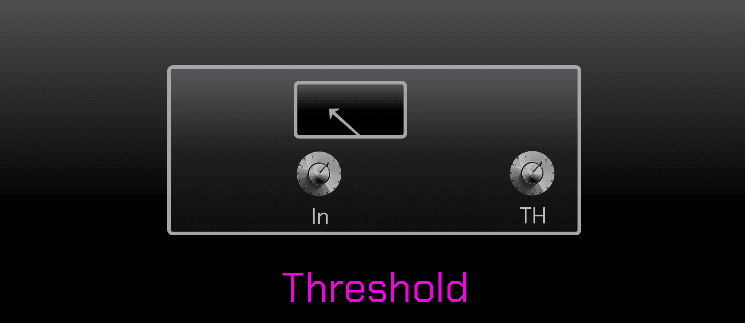
The threshold level tells the compressor when to actually start the compression.
Signals above the threshold will engage the compression while everything below the threshold will not be compressed.
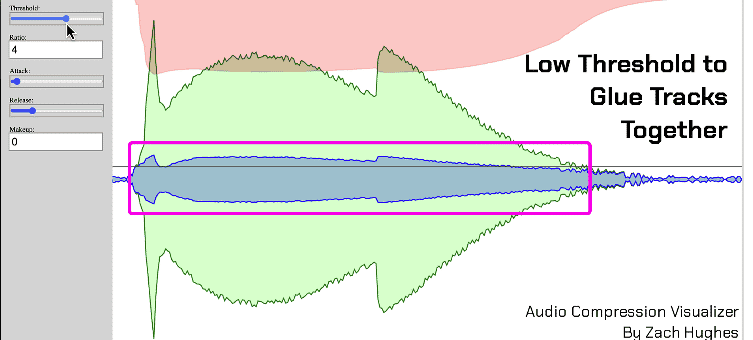
If you want to glue tracks together, a low threshold is what you need because most of the signal will be below the threshold and thus compressed. Understanding the threshold is essential for mastering compressor controls explained in detail.
Ratio

The ratio tells the compressor how hard to compress the signal once it passes the threshold.
Low ratios like 2:1 will be more subtle, while higher ratio 4:1 or 10:1 and above are much more noticeable.
A 2:1 ratio means for every 2 dB above the threshold, the compressor returns 1 DB.
So if the input is 4dB, the compressor will return 2 dB.

Or 4:1 ratio means for every 4 dB above the threshold, the compressor returns 1 dB. So. if the input is 8 dB, the compressor will return 2 DB.
A 1:1 ratio means no compression at all.
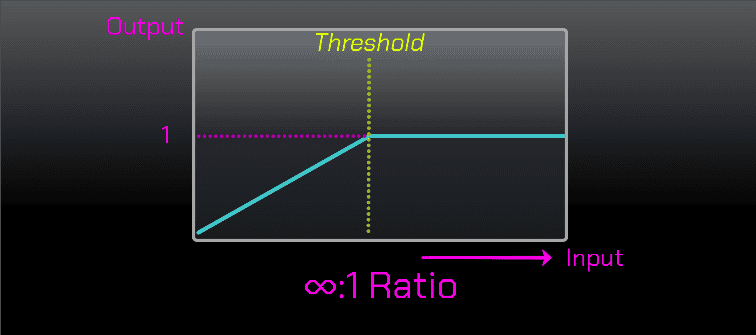
Instead, an ∞:1 ratio (or even 10:1) sets the compressor as limiter, because no matter the input signal amount, the compressor will always output 1 dB.
Remember that too much ratio can suck the life out of a performance and push it back in the mix.
Common ratio values while mixing may vary from 2:1, 4:1 and limiting while during the mastering process, you may even compress with values from 1,5:1 but usually 2:1.
But, in a mastering chain, a limiter is very often at the final stage of the entire signal path.
The ratio setting is a key part of dynamics control, determining how much the signal is compressed once it passes the threshold.
Compression Techniques for Audio Signals
There are several compression techniques used in audio production, each with its unique application and effect on the sound.
- Serial Compression: This involves using multiple compressors in series to control different aspects of the sound. For example, one compressor might handle the peaks, while another smooths out the overall level.
- Parallel Compression: Also known as New York compression, this technique involves mixing a lightly compressed signal with a heavily compressed version of the same signal. This can add punch and presence without sacrificing the natural dynamics of the performance.
- Multiband Compression: This technique divides the signal into multiple frequency bands and compresses each band separately. It allows for more precise control over the dynamics of different frequency ranges, making it ideal for complex mixes.
- Sidechain Compression: This uses one instrument’s level to control the gain reduction of another instrument. A common example is ducking, where the bass level is reduced whenever the kick drum hits, creating a clearer mix.
By mastering these compression techniques, you can enhance the clarity, punch, and overall impact of your audio signals.
Attack Time
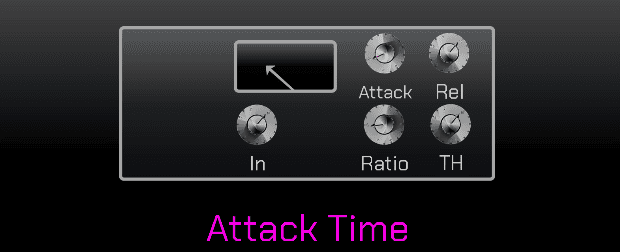
Let’s now talk about the attack and release controls also known as time constants.
The attack time tells the compressor how quickly to compress the signal as long as it passes the threshold. From a proximity effect, the attack time sets the front back position for a recording.
Fast Attack Time
If the attack time is fast, the recording will be pushed back in the mixer and the compressor will shave off the initial transients. This is good if you need to tighten up a recording, but be aware that an attack time too fast can generate a lifeless sound.
Slow Attack Time
While if the attack time is slow, the recording will be pushed forward and will let more transients and impact come through giving more punch. But on the other hand, it’s not a good setting if you need to control dynamics and tame peaks.
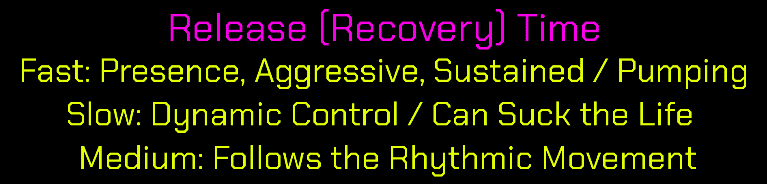
Release Time
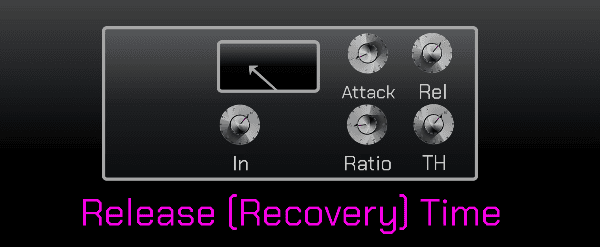
After the signal is passed below the threshold, the release or recovery control sets the amount of time the compressor takes to return to a 1:1 ratio, meaning a non compressing state.
Fast Release Time
If the release is too fast, you will add dynamic and presence to your mix and a more aggressive sound with more initial sustain.
Be careful because unless you are not intentionally doing so, a faster release time can cause the so called pumping or audible compression effect. For example, the electronic genre loves this type of effect, but not rock matter or pop music.
Slow Release Time
While if the release time is too slow, you have more dynamic control over your sound. The compressor keeps the audio compressed for a longer time and the audio sounds smoother, but can also suck the life out of a performance.
Medium Release Time
A medium recovery time is used to follow the rhythmic movement of the recording, making the compressor dance to the music. The secret is setting the release time so the needle returns to a zero gain reduction level (or just before 0) before the next kick hit.
So generally speaking:
Faster Attack and Release Times will give you more aggression, grit and loudness,
Slower Times will sound smoother and more controlled.
MakeUp Gain
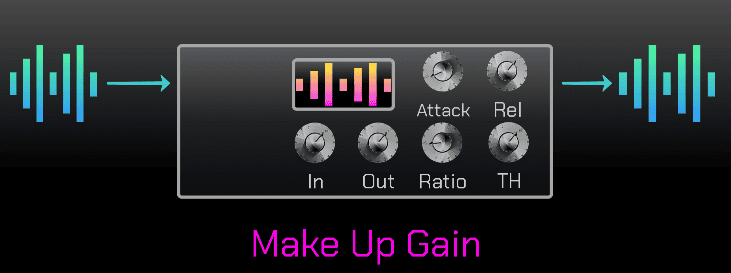
The Makeup Gain or Output Gain adds back all the gain reduction of the compression process so that the output signal is as loud as it was before the compression.
Setting the correct gain compensation is crucial because our ears believe that louder is better. So by using the make up game, we have the possibility to compare before and after the compression at the same volume.
For example, if we compress a signal by 3 dB, we need to increase the make up gain roughly by 3 dB.
You will then be able to compare the differences before and after the compression and, very important, at the same perceived loudness.
And now let’s have a look at some other controls that you may find or not in a compressor by starting with the side chain filter.
Side Chain Filter and Sidechain Input
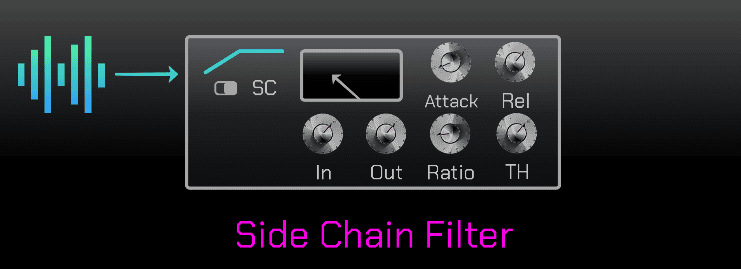
We know that the lower the frequency, the higher the energy. Kick and Bass, for example, may trigger your compressor before any other audio element of your song.
Usually set as a high pass filter, this sidechain filter allows you to tell the compressor what to ignore from the input signal and how much to ignore the lowest audio frequencies, making the compression more transparent and less reactive to lower frequencies. The sidechain input allows for advanced compression techniques like sidechain compression, enhancing mix clarity.
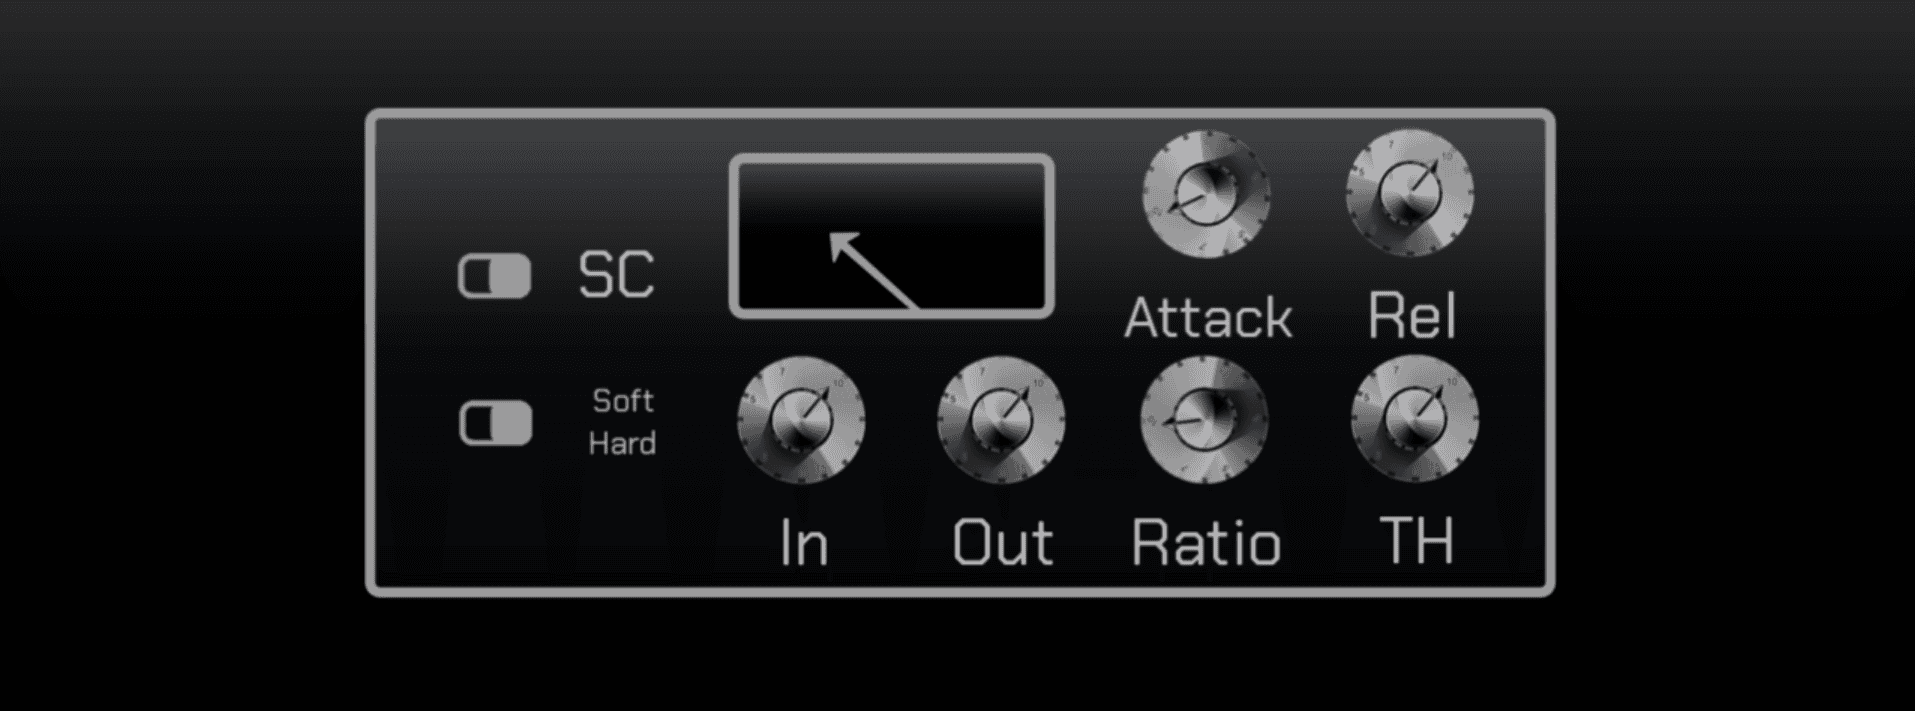
Soft and Hard Knee in Audio Compression
The last control we are going to see now is the knee that is the point where the compression begins.
It could be soft looking like a curve where the compression begins with a lower ratio even before the signal reaches the threshold or hard looking like an angle where the ratio determines how steep this angle is.
With the hard knee, the compression becomes very easy to hear because it starts as far as the signal passes the threshold, no matter the ratio.

Soft Knee Setting

Hard Knee Setting
Common Mistakes in Audio Compression
One common mistake in audio compression is over-compressing the signal, which can result in a lifeless and flat sound. Over-compression removes the natural dynamics and can make the mix sound unnatural. Another mistake is using too fast an attack time, which can cause the transients to be pushed down too far into the body of the drum, losing the initial impact. Additionally, setting the threshold too low can cause the compressor to never release, making it sound unnatural and overly squashed. It’s essential to use compression with purpose and to experiment with different settings to achieve the desired sound. Remember, subtlety is often key in achieving a natural and dynamic mix.
Okay, cool!
Great! We have just seen the basic compressor controls and settings.
Now it’s time to practice and enjoy!
If you would like to understand something more about compression, check some related posts here below
Suggested Readings
Set Compression Goals
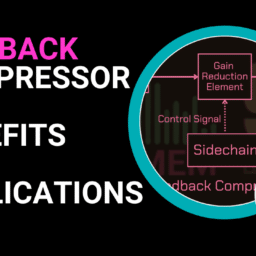
Feedback and Feedforward Compressors
Compressor Types and Applications
Audio Compression Controls
Why do we use Audio Compression?
Now Practice and Enjoy!