
Do you want to get the best out of the acoustics in your room and achieve cleaner, more precise mixes that translate well outside of your studio walls? One solution that’s accessible to everyone is to build your own series of acoustic panels and place them in spaces around your studio.
Building them is a relatively easy operation. You just have to do some practice and have minimum tools to assemble everything, spending as little money as possible. As you already probably know, using appropriate acoustic panels will help to improve the frequency response and reverb time of your room, making your listening and sound more reliable.
That’s where sound absorption panels step in to save the day! These trusty additions can transform a noisy space into one that’s calm, balanced, and productive. This guide walks you through everything you need to know about maximizing your listening experience with sound absorption panels.
Let’s Start
The size of the studio to be soundproofed is decisive, as it will give us an idea of how big and how many acoustic panels will be necessary for the treatment.
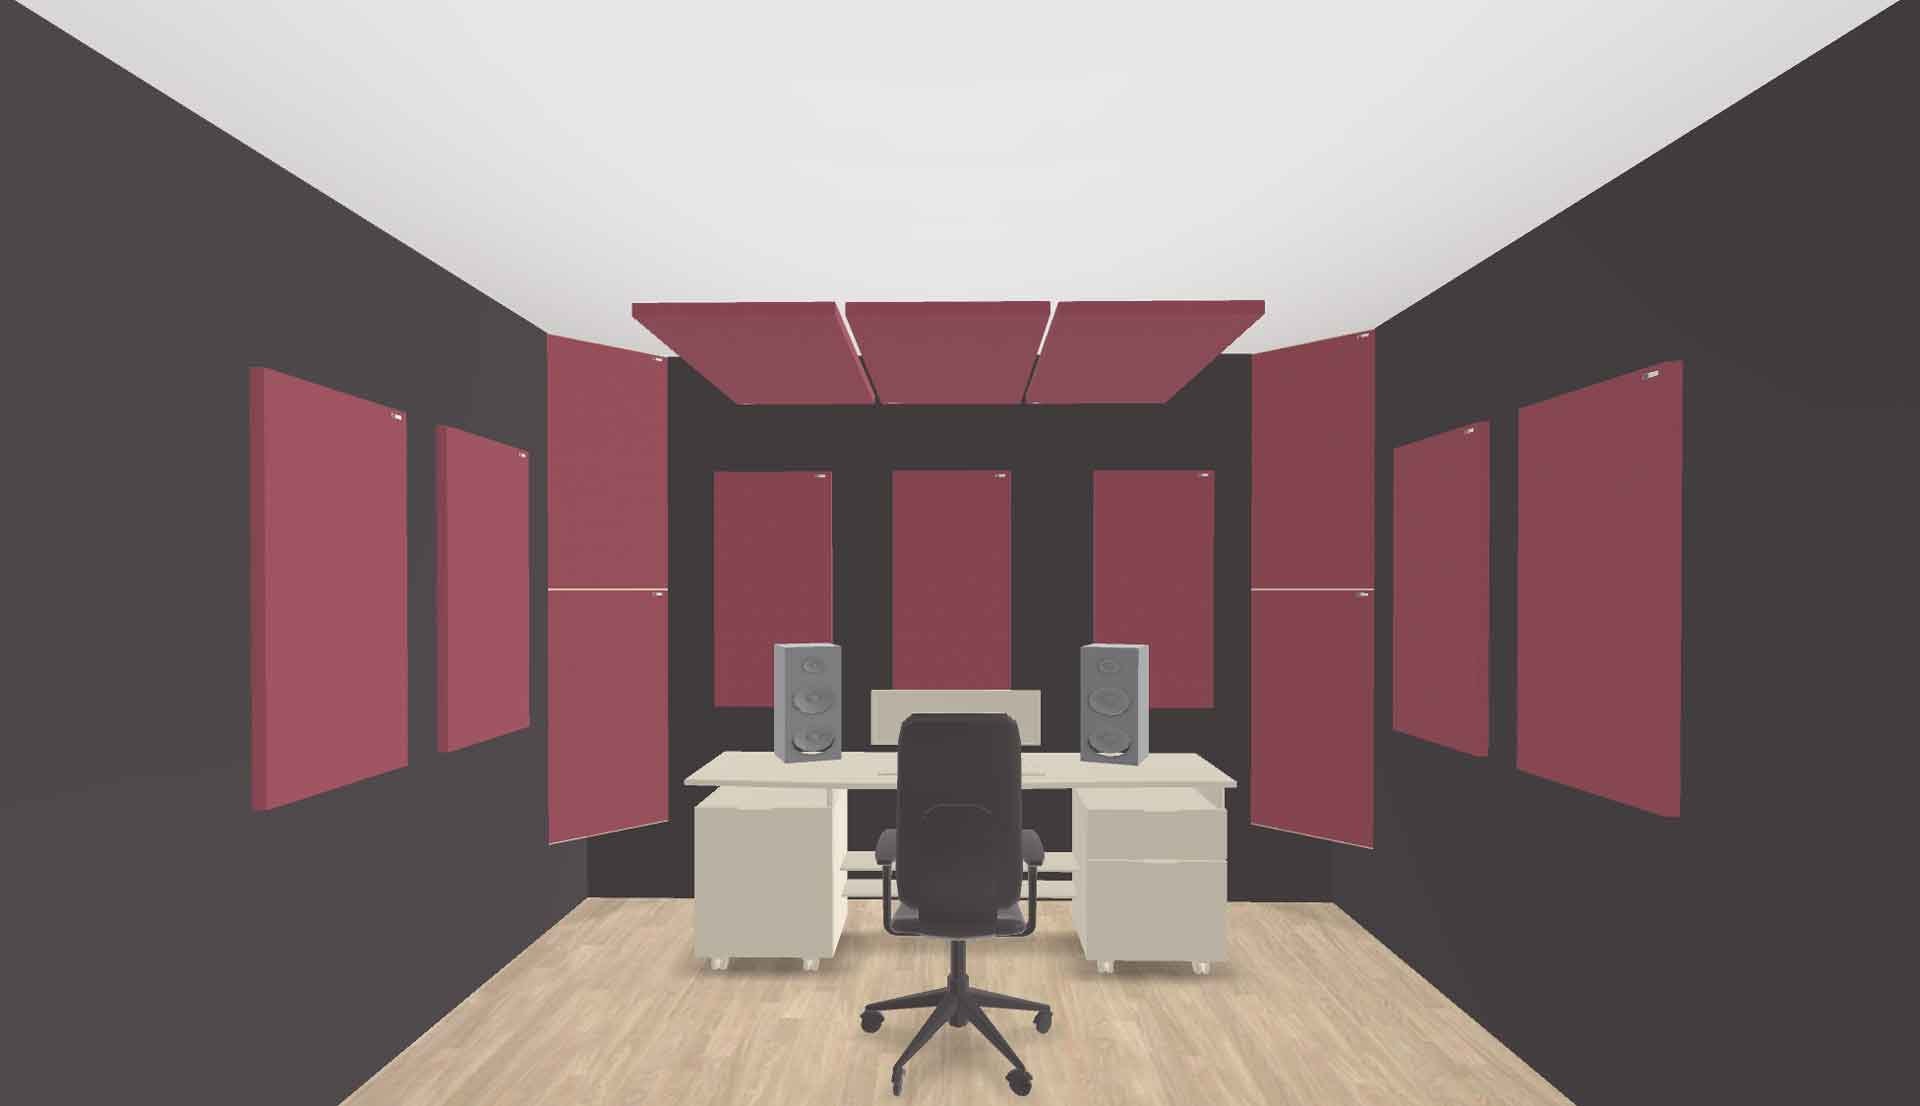
A classic acoustic treatment project involves treating the corners with appropriate bass traps, the side and front walls, and the ceiling.
Depending on the size of the room, the back can always be treated with an absorbent or reflective panel.
The thickness of the insulating material is also decisive. The thicker the material, the more effective the absorption power, especially on low frequencies.
- TIP: Leaving an air gap between the panel and the wall can significantly boost the panel’s absorption capabilities.
What to Treat?
First Reflections
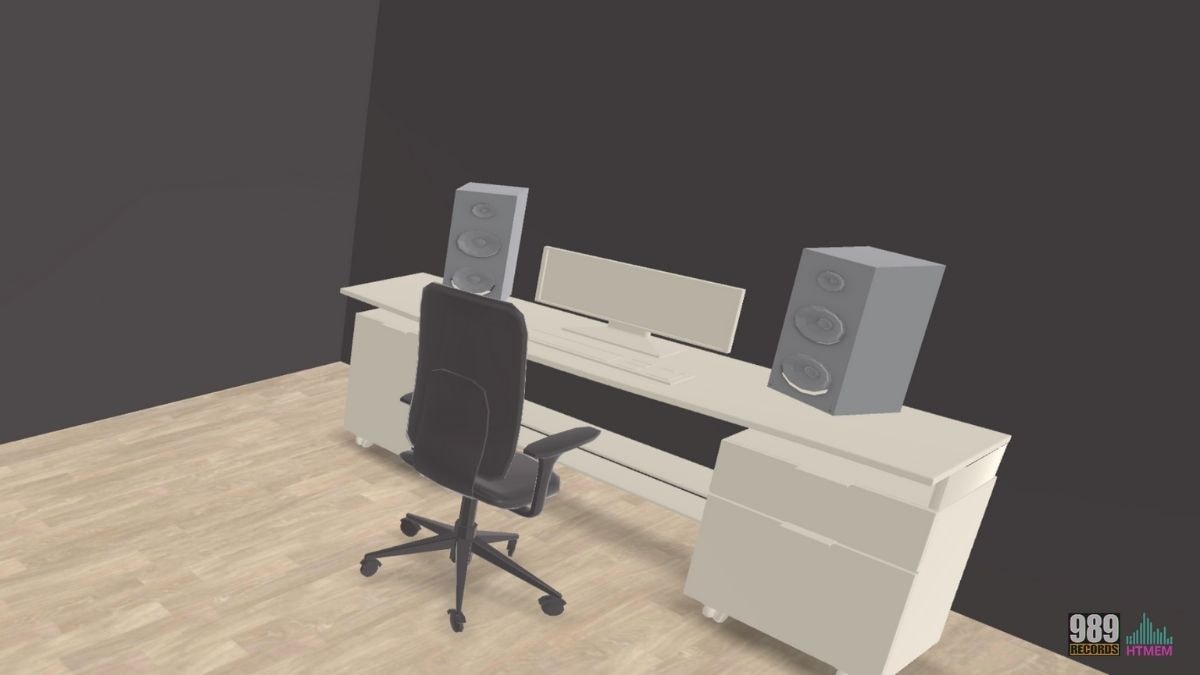
The First Reflections are Sound Bouncing Points that are added to the Direct Sound, altering its perception. First of all, it is good to treat the Sidewalls at the height of the initial reflections.
To find out where these points are located, you can use the classic Mirror Trick.
Sit at your listening point and have a friend use a small mirror; start on the front wall, at the speaker’s height, and move the mirror towards the center of the room.
When you see your speaker reflected, Mark the point because that is an early reflection point. Remember that you will need to find Two Points (one for each speaker) for each sidewall.
Front Corners
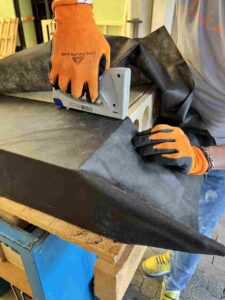
With the use of appropriate Bass Traps, an increase in the frequency response of the room (especially in the low-end area) will be obtained, with more truthful listening. The bass traps should be installed trying to fill the entire space, from the floor to the ceiling.
Everything Else
Depending on the budget, time and final result wanted, it will then be useful to treat the Rear Corners with bass traps.
Following this, I suggest proceeding with the Front Wall, the Ceiling above the listening point, and the Rear Wall. Having said that, let’s proceed.
To optimize your room’s acoustics, consider enrolling in this course: Master Mixes: Transform Your Room & Boost Sound on a Budget


Gather the Material
For an Economical DIY acoustic panel, it is best to choose materials such as Rock Wool. For the frame of the panel, Plywood is a lightweight and optimal material while, for the lining, a classic non-woven fabric is an economical and suitable material for use.
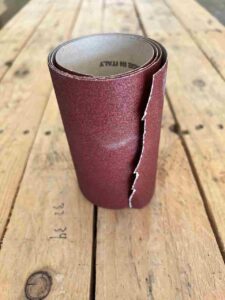
To understand if an external lining is a good candidate to use, you can perform a test. Blow through the material you would like to use. If blowing the material opposes resistance, do not use it. If air passes through, then it can be a good candidate.
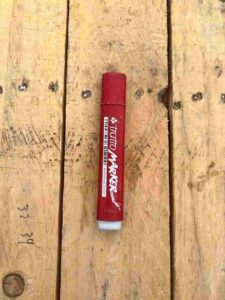
You will also need a saw (manual or electric), a rigid meter rule, scissors, a drill or a screwdriver, cross screws, a stapler, gloves, sandpaper, a marker, and I would also suggest a mask. The material must of course be multiplied and adapted according to the number of panels you want to assemble.
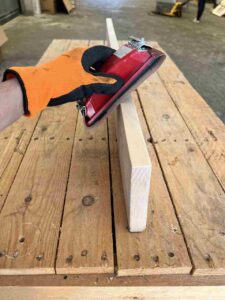
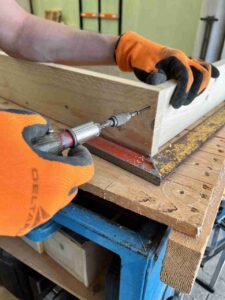
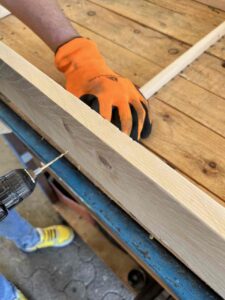


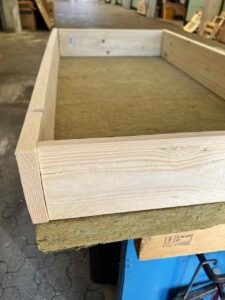
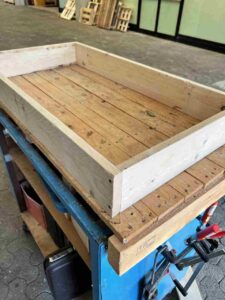
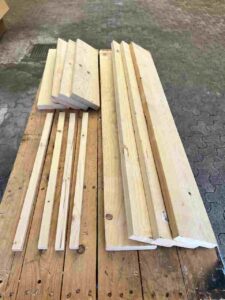
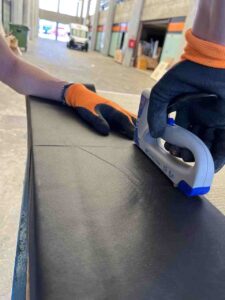
Cut the Frame and Insulation
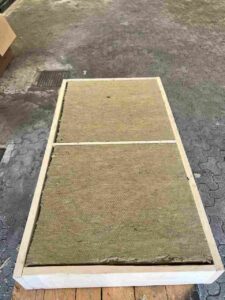
Usually, rock wool is available in standard sizes. Personally, I prefer to avoid cutting the rock wool and build the frame to the board measurements. It will save you work and time.
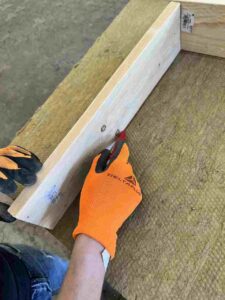
So measure and cut the pieces of wood needed for the frame. Once all the necessary pieces are cut, you can screw them together and make them ready to insert the rock wool. If you want, for an even stronger structure, you can also glue the pieces of wood.
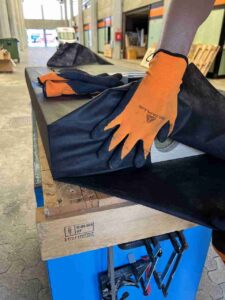
At this point, you can lay the frame around the rock wool, taking care not to leave gaps between the insulation and the frame. If you want, for an even stronger structure, you can mount a transverse wooden strip which will also further secure the rock wool to the frame.
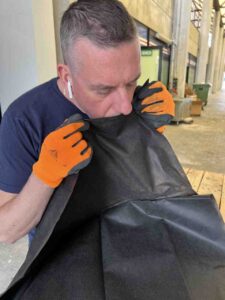

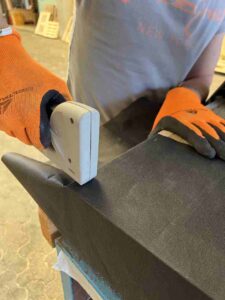

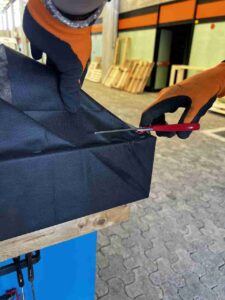
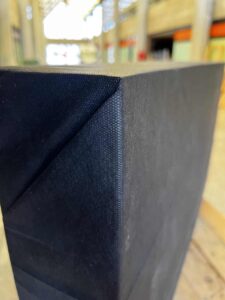
Wrap the Panel in Fabric
This may be the part that requires the most manual labor and a couple of panels of experience. The advice is to lay the fabric over the frame. Start by fixing the center of the sides with the stapler, being careful to stretch the fabric well before fixing it. To get a good result, it will be necessary to cut the excess parts of the fabric and after some mistakes and a bit of practice, you will surely get a good result.
Hang the Acoustic Panel
Hang the acoustic panel using the appropriate hardware. The points of the room to be treated in which to place the panels are normally located in correspondence with the early reflections and the corners of the room. For more information on how to find the points of first reflections and which points of the room it is best to treat, take a look here.
If you prefer a pre-made product that’s ready to install, check out GIK Acoustics or Anthill Audio.
Pro Tip
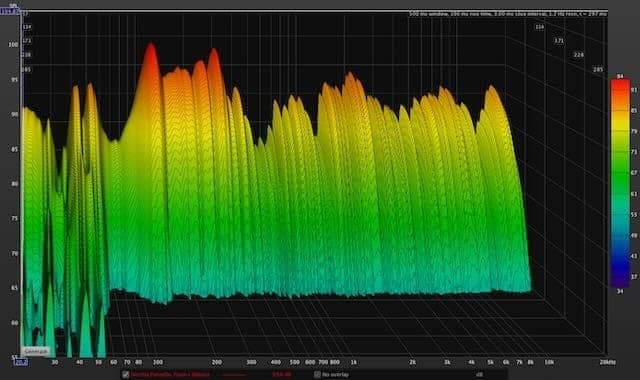
REW is a free software useful for measuring the frequency response of your room. A pre-treatment measurement will help you understand how the panels improve the quality of your room and if you need to continue treating by adding panels or not.
Keep in mind that achieving a flat frequency response is impossible unless you’re in an anechoic chamber. We aim for an excellent frequency response when the overall tolerance of the response is within a range of +-3dB.
To optimize your room’s acoustics, consider enrolling in this course: Master Mixes: Transform Your Room & Boost Sound on a Budget