Setting up your studio monitors properly is key to getting the best sound.
In this guide, we’ll cover how to set up studio monitors, including room acoustics, speaker placement, and more to help you achieve optimal audio quality.
Key Takeaways
- Master your room acoustics to enhance sound reproduction and clarity for effective mixing.
- Position studio monitors correctly at ear level and in a symmetrical arrangement for optimal audio accuracy.
- Choose monitor speakers with appropriate wattage to ensure sound levels are maintained without distortion.
- Implementing acoustic treatments and managing reflections to create a balanced, professional sound environment.
Understanding Studio Monitors and Room Acoustics
Studio monitors are a crucial component of any recording studio, and understanding how they work and interact with the room acoustics is essential for producing high-quality sound. In this section, we will delve into the basics of studio monitors and room acoustics and provide tips on how to optimize your studio setup for the best possible sound.
What are Studio Monitors?
Studio monitors are specialized speakers designed specifically for use in recording studios. Unlike regular speakers, which often enhance certain frequencies to create a more pleasing sound, studio monitors are engineered to produce a flat frequency response. This means they reproduce sound without any coloration or bias, allowing you to hear the audio exactly as it was recorded. This accuracy is vital for mixing and mastering as it ensures that your tracks will sound good on any playback system.
Typically used in pairs, studio monitors are placed on either side of the mixing console to create a balanced stereo field. They are usually connected to an audio interface, which serves as the hub for your instruments, microphones, and other audio sources. The audio interface converts analog signals to digital and vice versa, ensuring that your studio monitors receive a clean and accurate signal.
Understanding the role of studio monitors and their interaction with room acoustics is the first step towards achieving professional-quality sound in your home studio. Let’s dive in.
Understanding Room Acoustics
Room acoustics play a pivotal role in how we perceive sound. The dimensions and shape of your room influence how sound waves travel and reflect, affecting the timing before reflections occur. Reflected sound from hard surfaces can lead to sound alterations known as comb filtering, affecting the overall listening experience. Large rooms can enhance reverb, potentially leading to a boomy sound if not managed properly. On the other hand, small rooms may constrain sound, resulting in a restricted soundstage and creating standing waves that can muddle your mix.
Rectangular rooms generally ensure predictable sound wave behavior, aiding in effective speaker placement. However, irregularly shaped rooms can create unpredictable acoustic anomalies that may affect sound quality. Sound bounces off surfaces and loses energy as it travels indoors, which can lead to inaccuracies in sound reproduction.
In small residential spaces, bass frequencies tend to create more acoustic challenges than higher frequencies due to their longer wavelengths, making bass traps in corners a recommended solution. The ‘38% rule’ suggests positioning your listening position 38% into the room from the front wall to minimize standing waves. Understanding these fundamentals helps in making informed decisions about acoustic treatment and monitor placement. Effective room acoustic management significantly enhances sound reproduction accuracy, bringing what you hear closer to the original recording. A solid, tight low-end response is crucial for accurately reproducing kick drums and basslines, ensuring your mixes translate well across different playback systems.
Choosing the Right Location for Your Studio
The location of your studio can have a significant impact on the sound quality. Ideally, you want to choose a location that is quiet, with minimal external noise and few distractions. The size and shape of the room, as well as the type of construction and materials used, also play a crucial role in how sound behaves within the space.
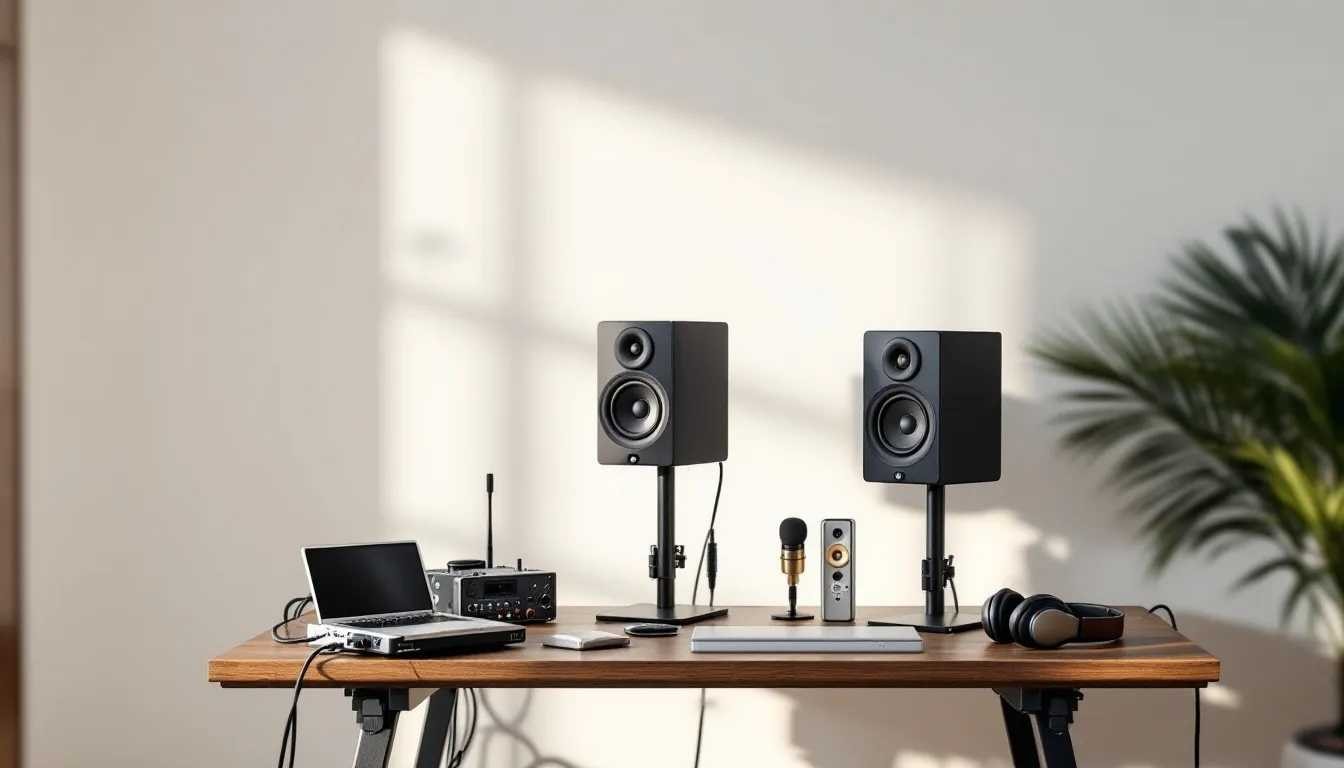
Ideal Studio Monitor Placement
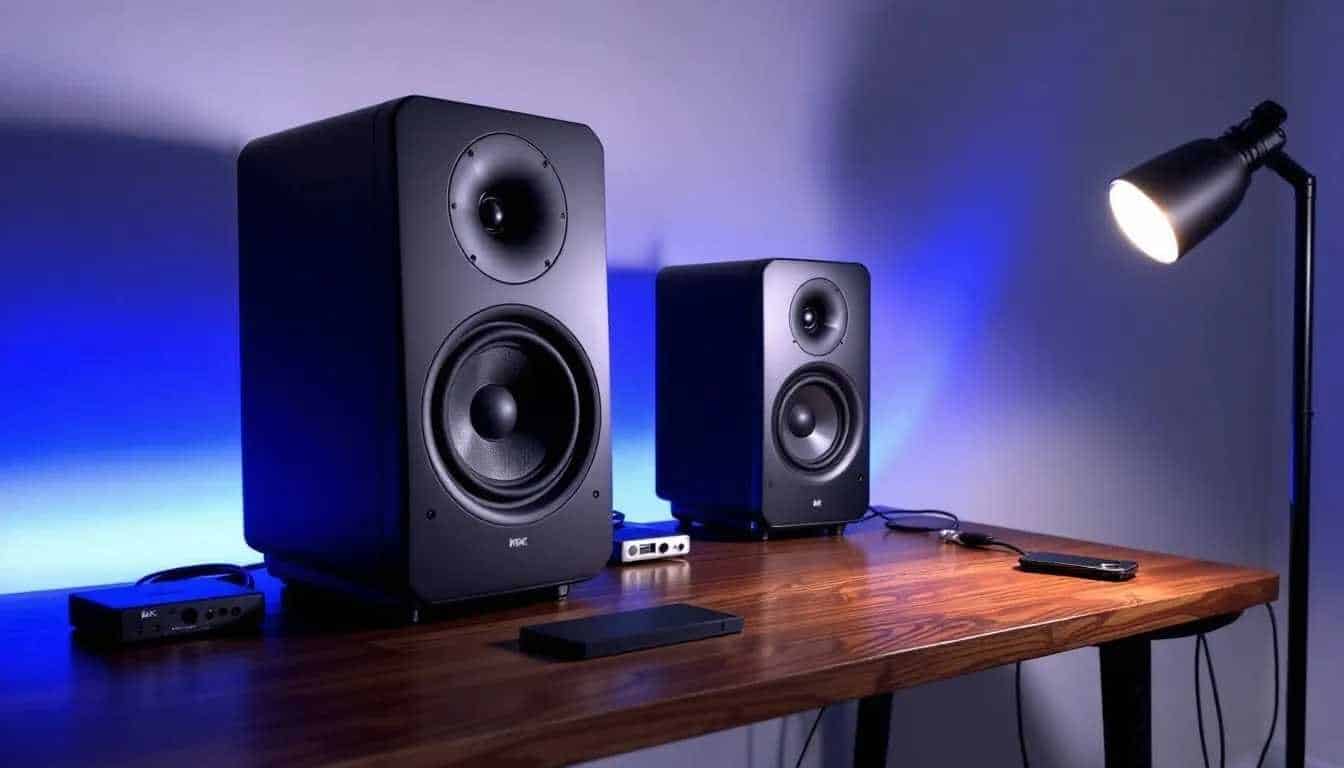
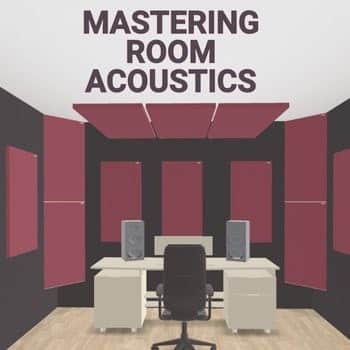
Accurate studio monitor placement is key to achieving optimal sound quality. Positioning your monitors to ensure a greater amount of direct sound reaches your ears can significantly enhance audio accuracy. Position your left and right speakers symmetrically along the left-right axis of the room to create a balanced stereo field. For stereo setups, forming a 60-degree angle between the monitors and your listening position ensures an accurate stereo image. Maintaining equal distance from the side walls for both monitors enhances stereo imaging while avoiding corner placement and preventing excessive low-frequency buildup.
Keeping at least one meter of distance from walls helps prevent standing waves, which can distort sound. Additionally, studio monitors should be placed around 8 to 12 inches (20 to 30 cm) away from walls and corners to minimize reflections. Adjusting monitors for sound involves moving them away from walls to reduce low-end buildup. The listeners should position themselves at an equilateral triangle with the monitors for optimal sound accuracy. Additionally, the acoustic axis of the monitors should ideally align with ear level, typically between 3.9 and 4.6 feet (1.2 and 1.4 meters) high. This alignment ensures that the high-frequency drivers are level with your ears, providing better audio precision.
Try experimenting with specific monitor and listener placements, which can help tailor the setup to individual room acoustics. So, following these simple guidelines helps create a listening environment conducive to accurate sound reproduction, which is crucial for mixing and mastering.

Using an Equilateral Triangle for Optimal Sound
One effective way to optimize the sound in your studio is to use an equilateral triangle setup. This involves placing the studio monitors in an equilateral triangle configuration, with the listener seated at the apex of the triangle. This setup ensures that the sound waves from the left and right speakers arrive at the listener’s ears simultaneously, providing a balanced and accurate sound reproduction.
To set up an equilateral triangle configuration, start by placing the studio monitors on either side of the mixing console, about 3-4 feet (0.9–1.2 meters) apart. Then, position the listener’s chair at the apex of the triangle, also about 3-4 feet away from the monitors. Adjust the position of the monitors and the listener’s chair until you achieve a balanced sound, with the sound waves from the left and right speakers arriving at the listener’s ears at the same time.
Again, by following these tips and understanding the basics of studio monitors and room acoustics, you can optimize your studio setup for the best possible sound. Remember to consider the size and shape of the room, the type of construction and materials used, and the location of the studio monitors and listener’s chair. With a little practice and patience, you can achieve professional-sounding results in your home studio.
Adjusting Monitors to Ear Level
Positioning studio monitors at ear height ensures accurate sound perception. Unlike computer speakers that often use a single-amp configuration, studio monitors may require more complex setups for optimal performance. The high-frequency drivers should be level with your ears to ensure you hear the full frequency spectrum accurately. This setup allows for better judgment of the mix, particularly the intricate details in the high frequencies that can make or break a track. An accurate high-end response should be airy and extended without stridency, allowing for a more natural and detailed listening experience. Also, identifying resonances in your mix can help reduce harshness from your mix: if you are interested in learning some mixing techniques to get crystal-clear highs, have a look at this course.
Using quality monitor stands can significantly enhance sound clarity by minimizing vibrations and ensuring stable positioning. For smaller monitors, desktop stands are a compact solution, while taller stands may be necessary for low desks to ensure the monitors reach ear level. For home studios, 5-inch speakers are a suitable monitor size for most users. Desks can create significant sound reflections that affect audio quality, especially around 250 Hz, so monitor placement and stand usage are critical for reducing these issues. Additionally, desk reflections can impact sound quality by creating muddiness in the midrange frequencies, making proper placement even more essential.
Monitors adjusted to ear level provide a more precise listening experience, which is crucial for accurate mixing and sound reproduction.

Managing Reflections from Surfaces
Controlling surface reflections is key to maintaining sound clarity. Using a mirror helps locate primary reflection points from walls, allowing targeted acoustic treatment. Ceiling reflections can significantly affect the sound in a studio space due to their potential to cause echoes. Using acoustic treatment or hanging panels can help mitigate these issues. Secondary reflection points can be identified using a hand mirror to see the full speaker cones from various spots along the wall. These reflections can significantly distort sound, acting like acoustic mirrors that create phase cancellations and affect sound quality. Ceiling reflections, in particular, can cause echoes that disrupt the listening experience, making their treatment a priority.
Acoustic foam is effective primarily for mid-range and high-frequency sound absorption. Placing absorbers away from walls enhances their effectiveness at lower frequencies. Additionally, acoustic foam panels can absorb midrange and treble frequencies, making them a versatile tool for improving sound clarity. Bass trapping is best achieved using porous materials placed in corners, as those areas capture low-frequency energy.
Employing barrier mats can help absorb low-frequency energy effectively in studio setups. Proper reflection management results in clearer and more accurate sound.
Using Acoustic Treatment
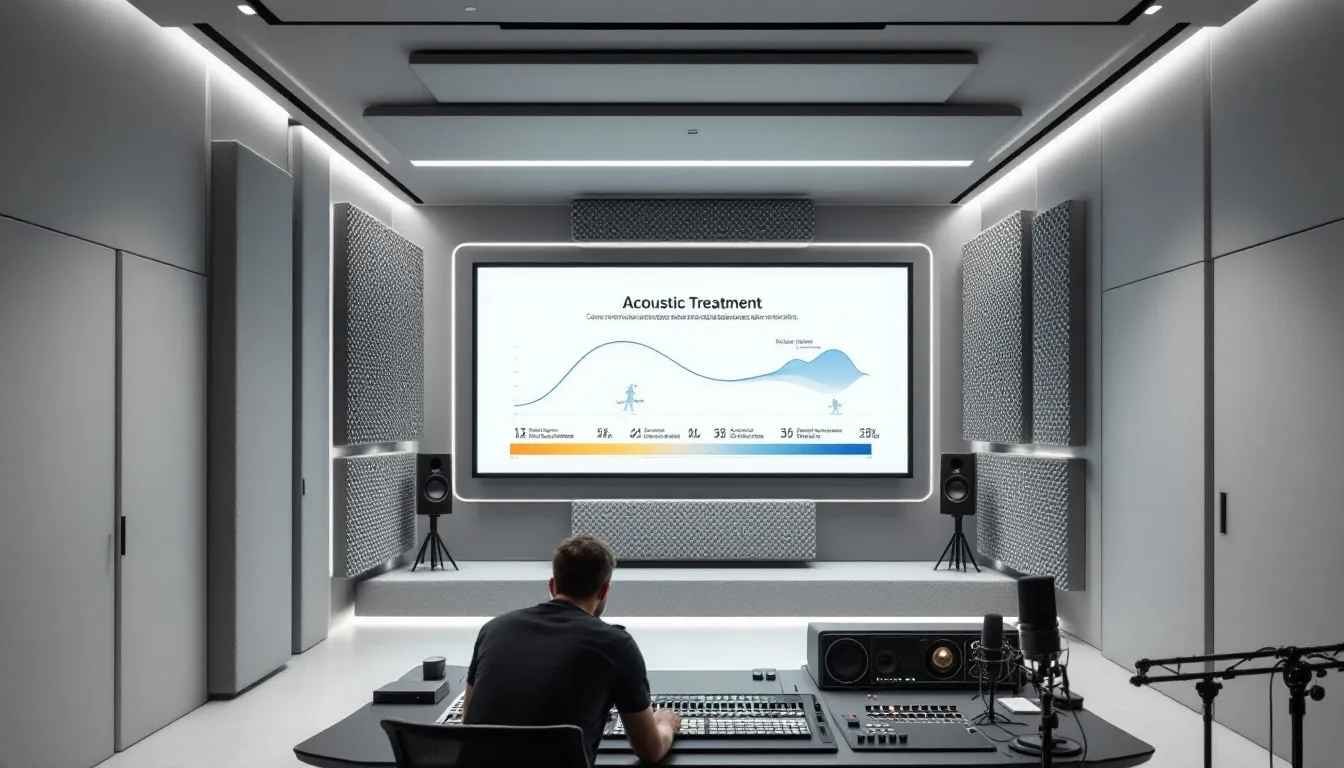
Acoustic treatment significantly improves the sound quality in your home studio. Bass traps are designed to absorb low frequencies and can significantly enhance sound quality without excessively damping mid and high frequencies. These traps are most effective when installed in the corners of a room, enhancing frequency response and decay time.
Diffusers work by scattering sound waves, reducing the intensity of reflections, and creating a more balanced acoustic environment. They allow for natural sound without standing waves affecting accuracy and can mitigate comb filtering and slap echo when placed strategically. Additionally, treating the first reflection points with acoustic panels minimizes unwanted echoes and improves clarity.
For better results, acoustic treatment should be implemented alongside measuring room response. Try using the free Room Acoustic Software REW.
So, understanding acoustic treatment techniques is crucial for correctly setting up studio monitors. Combining these treatments creates an optimal environment for music production and mixing.
Setting Up Active and Passive Studio Monitors
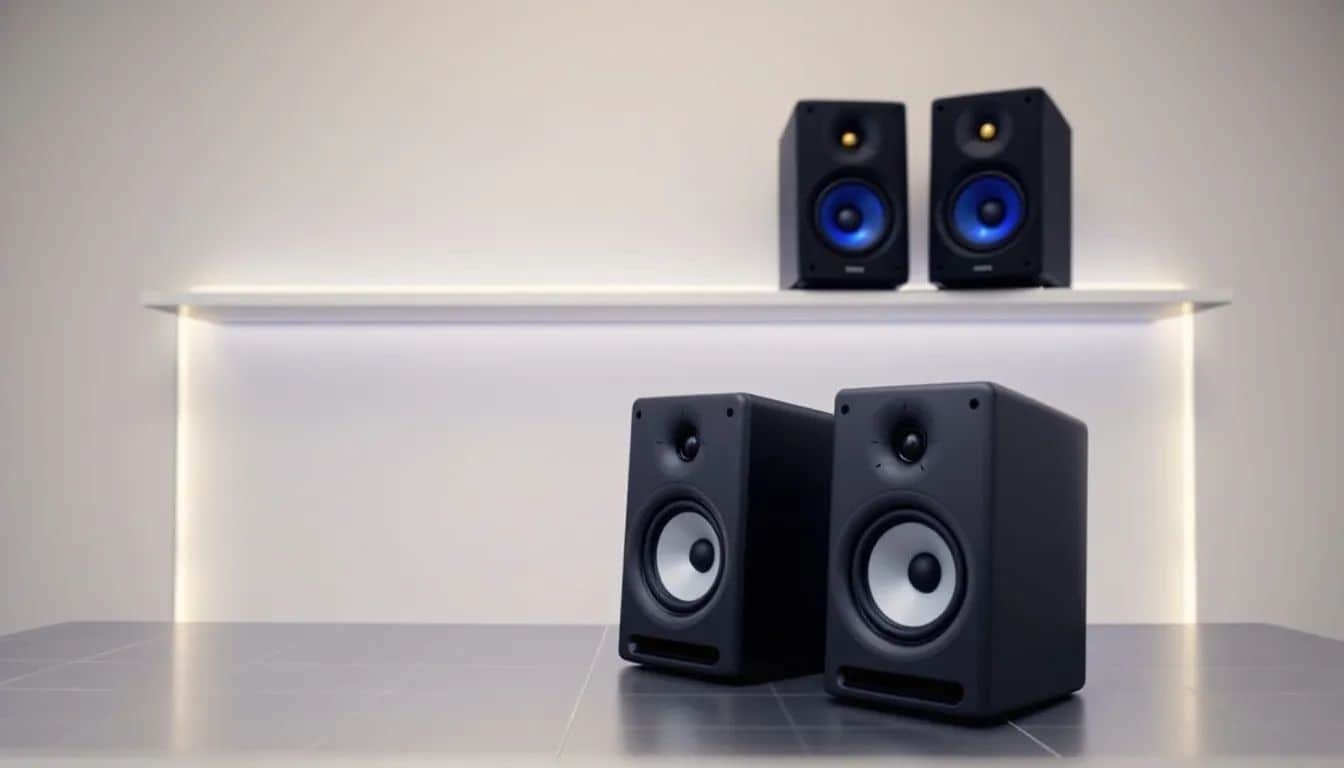
Setting up studio monitors involves understanding the differences between active and passive types. Studio speakers are specifically designed for professional audio environments, offering precise sound reproduction for mixing and mastering. Active studio monitors have built-in amplifiers, simplifying the setup process. In contrast, passive studio monitors require an external amplifier for operation, which allows for greater flexibility in choosing an amplifier but adds complexity to the setup. Two-way monitors have a woofer and tweeter, while three-way monitors include a midrange speaker for greater sound clarity. Studio monitors differ from regular speakers due to their design for professional audio environments, offering a flat frequency response and precise sound reproduction tailored for mixing and mastering. Beginners should expect to spend around $200-$400 for a decent pair of studio monitors, making it an accessible investment for those starting out.
OK, in the following sections, we will walk through the specific steps needed for each speaker type.
Connecting Active Studio Monitors
Connecting active studio monitors is straightforward. You’ll need an audio interface and two balanced cables (TRS or XLR) to connect studio monitors to your computer. Main output sources for connecting studio monitors typically have 1/4-inch jack ports or 3-pin XLR outputs. Ensure you use balanced cables to avoid interference and maintain sound quality.
Active monitors require power from a power source, so make sure they are plugged in. The two black rings on a jack connector indicate a balanced cable, which helps in identifying the right cables for your setup.
With these simple steps, your active studio monitors and audio equipment will be ready for accurate sound reproduction. And your ears will be pleased by that.
Setting Up Passive Studio Monitors
Setting up passive studio monitors involves using an external amplifier. This setup provides the flexibility to choose an amplifier that matches your monitors’ power rating and impedance for optimal performance. The most common configuration is a single-amp setup.
Use high-quality speaker cables to connect the passive monitors to the amplifier. Ensure the connections are secure and the amplifier settings are correctly adjusted to match the monitors. With this setup, your passive studio monitors will deliver accurate and powerful sound. Using high-quality speaker cables also minimizes signal loss and interference, which is crucial for maintaining sound fidelity in your setup.
Calibration and Testing
For achieving a flat frequency response, calibrating your studio monitors is crucial. It is essential for obtaining a balanced mixing.
Monitor speakers with appropriate wattage to ensure sound levels are maintained without distortion, which is crucial for accurate mixing. Methods for calibration include using pink noise and specialized speaker correction software like SoundID Reference. Measuring your room for correction requires a measurement microphone and profiling software.
Monitor wattage determines the ability to deliver sound levels without distortion, with 50-75 watts being a good starting point for beginners. Measuring the frequency response of a studio space is important for identifying treatment needs, ensuring that your setup is optimized for accurate sound reproduction. Regularly testing frequency response ensures that monitors are maintained for optimal accuracy.
Natural depth in sound when panning elements indicates accurate monitor calibration, helping you achieve a more immersive and precise mix.
A flat frequency response means there are no obvious spikes or dips in the lows, mids, or highs, ensuring accurate sound reproduction. You can check if your studio monitors are properly calibrated by using audio monitoring software or test tones. While achieving a completely flat room response is impossible, with proper techniques, significant corrections can be made.
The recommended profiling microphone is the Sonarworks’ SoundID Measurement Microphone. For calibrating monitor levels, it’s advised to leave the monitor knobs at 10 and adjust levels at the source. Following these steps ensures your studio monitors perform at their best.
Fine-Tuning Volume Levels
Fine-tuning volume levels is essential for achieving balanced sound during mixing and playback. The recommended setting for studio monitors in a user setup is to set them to noon. This helps maintain consistent signal strength and ensures optimal playback quality.
Adjusting volume levels correctly allows you to mix music accurately, ensuring that different frequencies are balanced and no part of the frequency spectrum is overpowering. By maintaining proper volume levels, you can achieve a sound that is both powerful and clear, whether you’re mixing deep bass or delicate high frequencies.
Common Pitfalls and How to Avoid Them
Setting up studio monitors can be tricky, and there are common pitfalls you should avoid. Effective vibration management is crucial for enhancing the clarity and accuracy of low-end sound. Using monitor isolation pads reduces vibrations that can affect the audio representation in your mixes.
Proper volume control during playback and mixing is crucial for achieving the best sound quality. According to the Fletcher-Munson curve, a prober listening volume should be around 75/80 dB SPL.
So, ensure your studio monitors perform optimally. Avoiding these common pitfalls!
Summary
Setting up studio monitors for optimal sound quality involves a series of careful steps, from understanding room acoustics to fine-tuning volume levels. By positioning your monitors correctly, managing reflections, and using acoustic treatment, you can create a listening environment that ensures accurate sound reproduction.
Remember to calibrate your monitors and avoid common pitfalls to maintain sound clarity. With these tips, your home studio will be equipped for professional-quality music production. Embrace these practices and let your creativity flow with confidence!

Frequently Asked Questions
Why is room acoustics important for studio monitor setup?
Room acoustics are crucial for your studio monitor setup because they significantly impact sound clarity and accuracy. By optimizing your space with the right treatments and monitor placement, you can achieve a more precise listening experience.
How should I position my studio monitors for optimal sound quality?
To achieve optimal sound quality, place your studio monitors symmetrically at a 60-degree angle from your listening position, and make sure they’re at ear level and at least one meter away from the walls. This setup will enhance your sound experience and elevate your creativity!
What is the difference between active and passive studio monitors?
Active studio monitors simplify your setup with built-in amplifiers, making them user-friendly. In contrast, passive monitors require an external amp, offering flexibility but adding complexity—choose what suits your workflow best!
How do I calibrate my studio monitors?
To achieve an optimal sound experience, use pink noise and speaker correction software for a flat frequency response, along with a profiling microphone to measure your room. Adjust your monitor levels accordingly, and you’ll transform your listening environment!
What are the common pitfalls in setting up studio monitors?
To achieve the best sound from your studio monitors, avoid common pitfalls like improper vibration management and poor acoustic treatment. Using isolation pads and treating reflection points will significantly enhance your listening experience!
Suggested Reading
Best Budget Headphones for Music Production
Practice and enjoy!