
Creating your ideal analog recording studio involves a blend of meticulous planning, strategic equipment selection, and a deep understanding of the recording process, especially for analog enthusiasts. This comprehensive guide will assist you every step of the way on this exciting journey to prepare a studio that meets your creative and technical needs.
Planning and Preparation
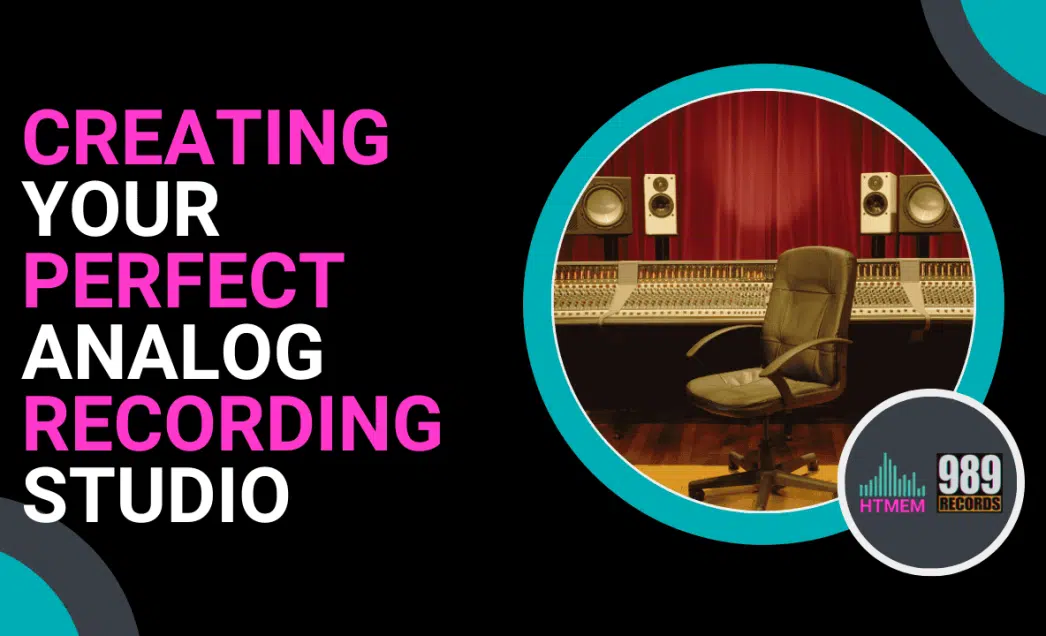
Setting Up Your Studio Space
The foundation of a great studio lies in its thoughtful layout and design.
Having a comprehensive gear list is essential to ensure all necessary equipment is accounted for. Begin by evaluating the size and shape of your space to ensure it can accommodate all your analog equipment while providing a comfortable environment for clients and musicians.
Proper ventilation and temperature control are crucial to maintaining optimal equipment performance. Invest in ergonomic furniture to support long recording sessions and plan for efficient storage and organization of your analog gear.
Soundproofing and acoustic treatment are essential for achieving optimal sound quality, so consider these elements in your design. Additionally, consider the aesthetic appeal of your studio to create an inviting atmosphere that inspires creativity.
Essential Equipment for Analog Recording
Choosing the right equipment is key to capturing the warmth and depth of analog sound.
- Start with a high-quality analog console that suits your recording needs, ensuring it offers the flexibility and features required for your projects. The SoundCraft Ghost Mixer serves as an excellent starting point.
- A variety of microphones is essential for different recording applications, from capturing vocals to instruments.
- Reliable tape machines (reel-to-reel) are the heart of analog recording and playback, providing the authentic analog warmth that digital recordings often lack.
The analog process enhances the audio quality during recording and mixing, providing a distinct character that both analog and digital enthusiasts appreciate. Additionally, using high-quality analog tape in professional recording studios offers a warm, saturated sound that is highly valued.
Consider a hybrid audio interface for seamless integration with digital equipment, allowing you to enjoy the best of both worlds.
Lastly, invest in a monitoring system with accurate speakers to ensure the best sound quality and make informed mixing decisions.

Understanding Signal Flow and Gain Staging
In the world of analog recording, understanding signal flow, and gain staging is paramount to achieving pristine sound quality. Signal flow refers to the path that audio signals take through your recording studio’s equipment, from the initial capture by microphones to the final output on tape machines.
Gain staging, on the other hand, involves setting the optimal gain levels for each piece of equipment in the signal chain to ensure a clean and balanced signal.
To master signal flow, you need to familiarize yourself with how each piece of analog equipment interacts within your studio. This includes knowing the input and output levels, impedance, and frequency response of your gear.
Typically, the signal flow starts with microphones capturing the audio, which is then sent to preamplifiers. These preamps boost the signal to a level suitable for recording on tape machines. The recorded signal can then be played back and mixed using your studio’s console and outboard gear.
Want to delve deeper into Gain Staging and Mixing? Check out the HTMEM Mixing Course here.
Proper gain staging is crucial because it directly impacts the sound quality of your recordings. Setting the gain too high can lead to distortion and clipping, resulting in a harsh sound. Conversely, setting it too low can produce a weak and noisy signal. To achieve optimal gain staging, use metering tools like VU meters and peak meters to monitor signal levels and adjust the gain accordingly.
High-quality cables and connectors are also essential to minimize signal loss and degradation.
By mastering signal flow and gain staging, recording artists and engineers can ensure their recordings capture the full warmth and depth of analog sound, showcasing their talents and creativity.
The Analog Recording Process
Tracking and Recording Techniques
Ok, we know that understanding the fundamentals of analog recording, such as gain staging and signal flow, is crucial for capturing high-quality audio. Explore various tracking techniques like overdubbing and punching to enhance your recordings.
Experiment with different microphone placements to capture the best sound for each instrument and vocal performance.
Develop an efficient workflow for tracking sessions, and consider using a click track for precise tempo control, ensuring musicians stay in sync throughout the recording process.
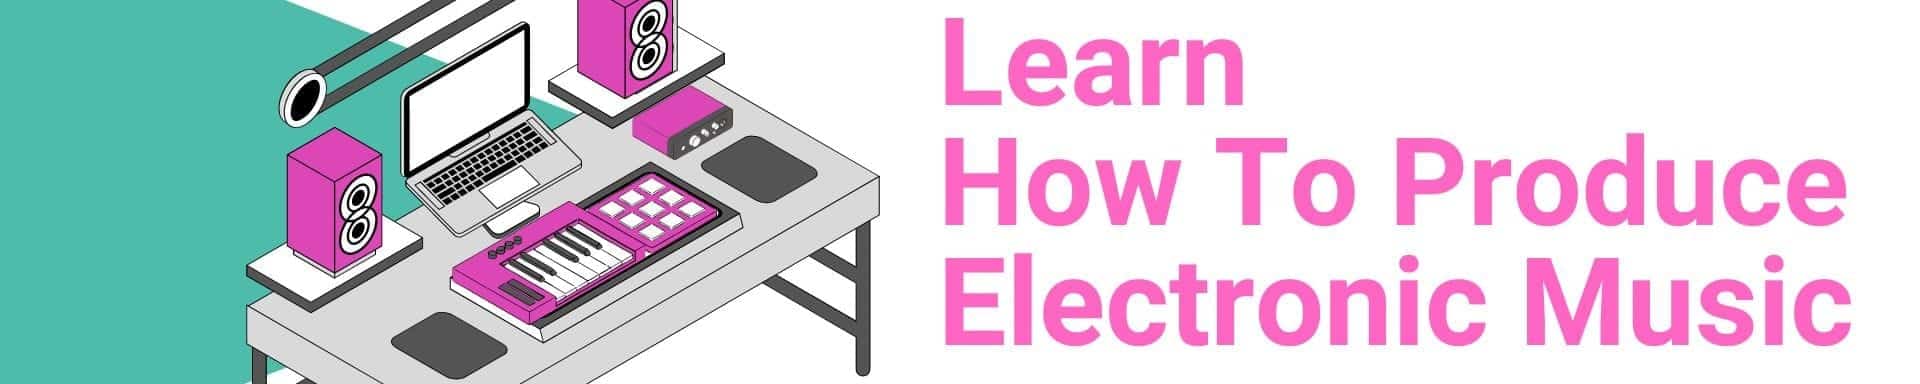
Additionally, consider the option of recording digitally in a DAW, which offers more control and editing options compared to full analog recording.
Working with Tape Machines
Familiarize yourself with tape machine operation, including threading and calibration, to ensure smooth recording sessions. Learn about different types of tape machines, such as 2-track and multi-track, and develop a workflow for their effective use.
Some studios also use an ‘other machine’ for lo-fi capabilities, which combines recording and mixing functions within a single piece of equipment.
Consider using tape machines for mastering and playback, as they offer a unique sonic character that can enhance the final product. Additionally, learn how to maintain tape machines properly to prolong their lifespan and ensure consistent performance.
Studio Design and Acoustics
Optimizing Your Studio’s Acoustics
Acoustics plays a vital role in sound quality, impacting both the recording and mixing processes. Invest in acoustic treatments like absorption panels and diffusers to control reflections and enhance clarity.
Hiring an acoustician can help optimize your studio’s design, ensuring it meets professional standards. Or you can follow this course here and learn how to construct a DIY acoustic panel, where to position it, and how to calibrate your speakers effectively.
Use acoustic analysis software like the free R.E.W. to identify sound issues and develop a maintenance plan for continuous improvement, keeping your studio at its best.
Talented people can significantly influence the recording process, utilizing their skills and creativity to achieve optimal acoustics and produce exceptional sound.
Studio Layout and Ergonomics
Design a layout that promotes efficiency and comfort for both engineers and artists.
Consider the placement of consoles and tape machines to facilitate easy access and workflow. Invest in ergonomic furniture to support long hours of work without causing strain.
Plan for cable management and organization to keep your studio tidy and functional. Hiring a studio designer could further enhance your studio’s layout, ensuring it meets both aesthetic and practical needs.
Creating a Comfortable and Inspiring Workspace
A comfortable and inspiring workspace is essential for recording artists and engineers to produce their best work. The atmosphere of your recording studio can significantly influence creativity, focus, and the overall recording experience.
Start by creating a welcoming environment through clever lighting and decor. Warm, cozy lighting, such as vintage lamps or candles, can create a sense of comfort and relaxation.
The studio’s layout should be logical and efficient, allowing easy movement and access to equipment. Consider features like a spacious control room, a comfortable vocal booth, and ample storage for instruments and gear.
Beyond the physical design, the psychological and emotional aspects of the workspace are equally important. Calming colors and textures, such as wood and stone, can create a serene atmosphere.
Adding plants and other natural elements can purify the air and enhance well-being, making the studio a pleasant place to spend long hours.
By focusing on both the physical and emotional aspects of your studio’s design, you can create a space where recording artists and engineers feel inspired and comfortable, leading to high-quality recordings that truly reflect their talents.

Mixing and Mastering for Analog Recording
Mixing Techniques for Analog Recording
Master the basics of analog mixing to achieve a balanced and polished sound.
Experiment with EQ, compression, and different mixing approaches like summing and parallel processing to add depth and character to your mixes.
Develop a workflow that ensures efficient mixing sessions, and consider using a console with built-in EQ and compressor for added flexibility.
These techniques are crucial for producing high-quality records.
If you’re keen to learn mixing techniques, consider signing up for this specialized Mixing Course.
Mastering for Analog Recording
Understand the essentials of analog mastering, such as EQ and compression, to enhance the final mix. Experiment with techniques like limiting and stereo widening to achieve the desired sound. Explore tape and vinyl mastering to add a unique touch to your projects. Create an effective mastering workflow to streamline the process.
Adding the Final Touches to Your Recordings
The final touches in the recording process are crucial for transforming raw tracks into polished, professional-sounding recordings. This stage includes mixing, mastering, and editing, each playing a vital role in refining the sound.
Mixing involves blending the various tracks and elements of a recording to create a balanced and cohesive sound. This process includes adjusting levels, panning, and applying EQ and compression to ensure clarity and depth. Experiment with different mixing techniques, such as summing and parallel processing, to add character and dimension to your recordings.
Mastering is the final step before distribution, preparing the mixed audio for playback on various platforms like CDs, streaming services, and radio. Again, this process involves EQing, compressing, and limiting the audio to ensure it sounds its best across different playback systems.
Editing is another critical component involving precise adjustments to the audio, such as cutting and splicing tracks, to create a seamless and polished final product. Attention to detail during editing can make a significant difference in the overall quality of the recording.
By meticulously adding these final touches, you can elevate your recordings to a professional level, ensuring they stand out and showcase your talents and creativity.
Building a Thriving Recording Studio
Building a Community of Musicians and Engineers
Networking is vital to building a successful studio.
Develop relationships with local musicians and engineers to create a supportive community. Host workshops and events to promote your studio and showcase your capabilities. Consider offering internships to attract talent and provide learning opportunities. Engage with your community through social media and plan for ongoing community outreach to strengthen your studio’s presence. IMHO, the recording community in San Francisco is particularly vibrant and offers numerous opportunities for collaboration and growth.
Building a Productive and Creative Relationship
Building a productive and creative relationship with your recording studio is essential for achieving high-quality recordings and a successful recording experience. This relationship hinges on effective communication, trust, and collaboration.
Clear communication is the foundation of a successful studio relationship. Express your needs and goals to the studio team, and work together to achieve them. Discuss the recording process, the equipment and techniques to be used, and the overall vision for the project. Open and honest communication ensures everyone is on the same page and working towards a common goal.
Trust is another crucial element. Have confidence in the studio’s expertise and feel comfortable relying on their judgment and recommendations. Trusting the studio team allows you to focus on your performance, knowing that they have your best interests at heart.
Collaboration is key to a creative and productive studio environment. Work together with the studio team to explore new ideas and techniques. Be open to suggestions and willing to experiment. This collaborative spirit can lead to innovative and exciting results, pushing the boundaries of what’s possible in the recording studio.
By cultivating a strong, collaborative relationship with your recording studio, you can achieve high-quality recordings that reflect your artistic vision and enjoy a rewarding and enjoyable recording experience.
Staying Up-to-Date with Industry Trends and Developments
Keep up-to-date on industry trends by attending conferences and workshops to gain insights into the latest technologies and techniques. Subscribe to industry publications and online forums to stay informed about developments. Consider hiring a consultant for guidance and develop a plan for continuous education and professional development. Use online courses to stay informed on the latest techniques and technologies, ensuring your studio remains competitive.

Bringing It All Together: Creating Your Dream Recording Studio
Creating your dream recording studio requires a thoughtful and intentional approach, considering the needs and preferences of clients and musicians. The ambiance of your studio plays a crucial role in setting the tone for creativity and productivity. Essential elements for creating a studio vibe include lighting, decor, and sound design. For instance, using vintage speakers and unique artwork can add character and inspire those who walk through your doors.
A well-designed studio space can help establish a strong brand identity and attract clients who appreciate the unique atmosphere. The studio vibe should reflect the type of music being recorded, the target audience, and the personal style of the engineer or owner. Whether you’re aiming for a retro, modern, or eclectic feel, your studio’s aesthetic should be a deliberate choice that resonates with your clientele.
Lighting is a key component in creating the right atmosphere. Soft, warm lighting can create a cozy and inviting environment, while adjustable lighting options can cater to different moods and recording needs. Decor, such as vintage posters, instruments, and comfortable furniture, can make the space feel more personal and less clinical.
Sound design is another critical aspect. The choice of speakers, the placement of acoustic panels, and the overall layout can significantly impact the sound quality and the recording experience. Vintage speakers, for example, can add a unique sonic character that digital enthusiasts might find appealing.
Your studio’s equipment and gear list also play a significant role in creating a unique sound and attracting clients. Whether you specialize in analog or digital recording, having a well-curated selection of gear can set your studio apart. High-quality analog equipment, such as tape machines and consoles, can provide the warmth and depth that many recording artists seek. On the other hand, digital gear can offer precision and flexibility.
By focusing on these elements, you can create a recording studio that not only meets the technical needs of your clients but also provides an inspiring and comfortable environment. This thoughtful and intentional design approach will help you build a space where creativity and technical excellence thrive, ultimately attracting top talent and producing high-quality recordings.
Key terms for SEO: studio vibe, atmosphere, ambiance, lighting, decor, sound design, brand identity, studio aesthetic, music genre, target audience, personal style, intentional design, recording studio, analog or digital, studio, recording, recorded, digital, analog, gear list, sound.
Final Thoughts on Creating Your Perfect Analog Recording Studio
Building a successful analog recording studio requires time, effort, and dedication. Stay focused on your goals, be adaptable, and always strive for improvement.
By following the steps outlined in this guide, you can create a profitable studio that will attract top talent and produce high-quality recordings.
Don’t be afraid to seek guidance from experienced professionals and stay current with industry trends.
With perseverance and determination, your perfect analog recording studio can become a reality, providing a space where creativity and technical excellence thrive.
Suggested Reading
Guide to Choosing a Circle of Fifths Wrist Watch
Practice and Enjoy